IN THIS ARTICLE
Paint Brush
In O3DE, many different components attach data to world space positions and regions. You can edit this data externally in content creation tools, but sometimes it can be easier to edit the data directly in the context of the assembled world inside of O3DE.
The Paint Brush is an editing mode available on some types of components to enable standard painting controls for editing the component’s data in world space.
Some components directly map pixels from a source image into world space, but other components might have a more indirect mapping, such as weights stored on vertices on a mesh. The Paint Brush is designed to allow painting in world space for any arbitrary type of data. For that reason, the descriptions below refer more generically to values instead of pixels, even though painting is generally considered to be an image-based operation. Also, the mapping of data values into world space can be at different densities, so the descriptions below make a distinction between world space and value space. World space represents a number of meters in the virtual world. Value space represents a quantity of adjacent data values in the data source being edited.
Using the Paint Brush
The Paint Brush is enabled by clicking the Edit button on the component or selecting the component’s icon in the Component Switcher in the viewport.
Once the Paint Brush is active, there are three sets of controls:
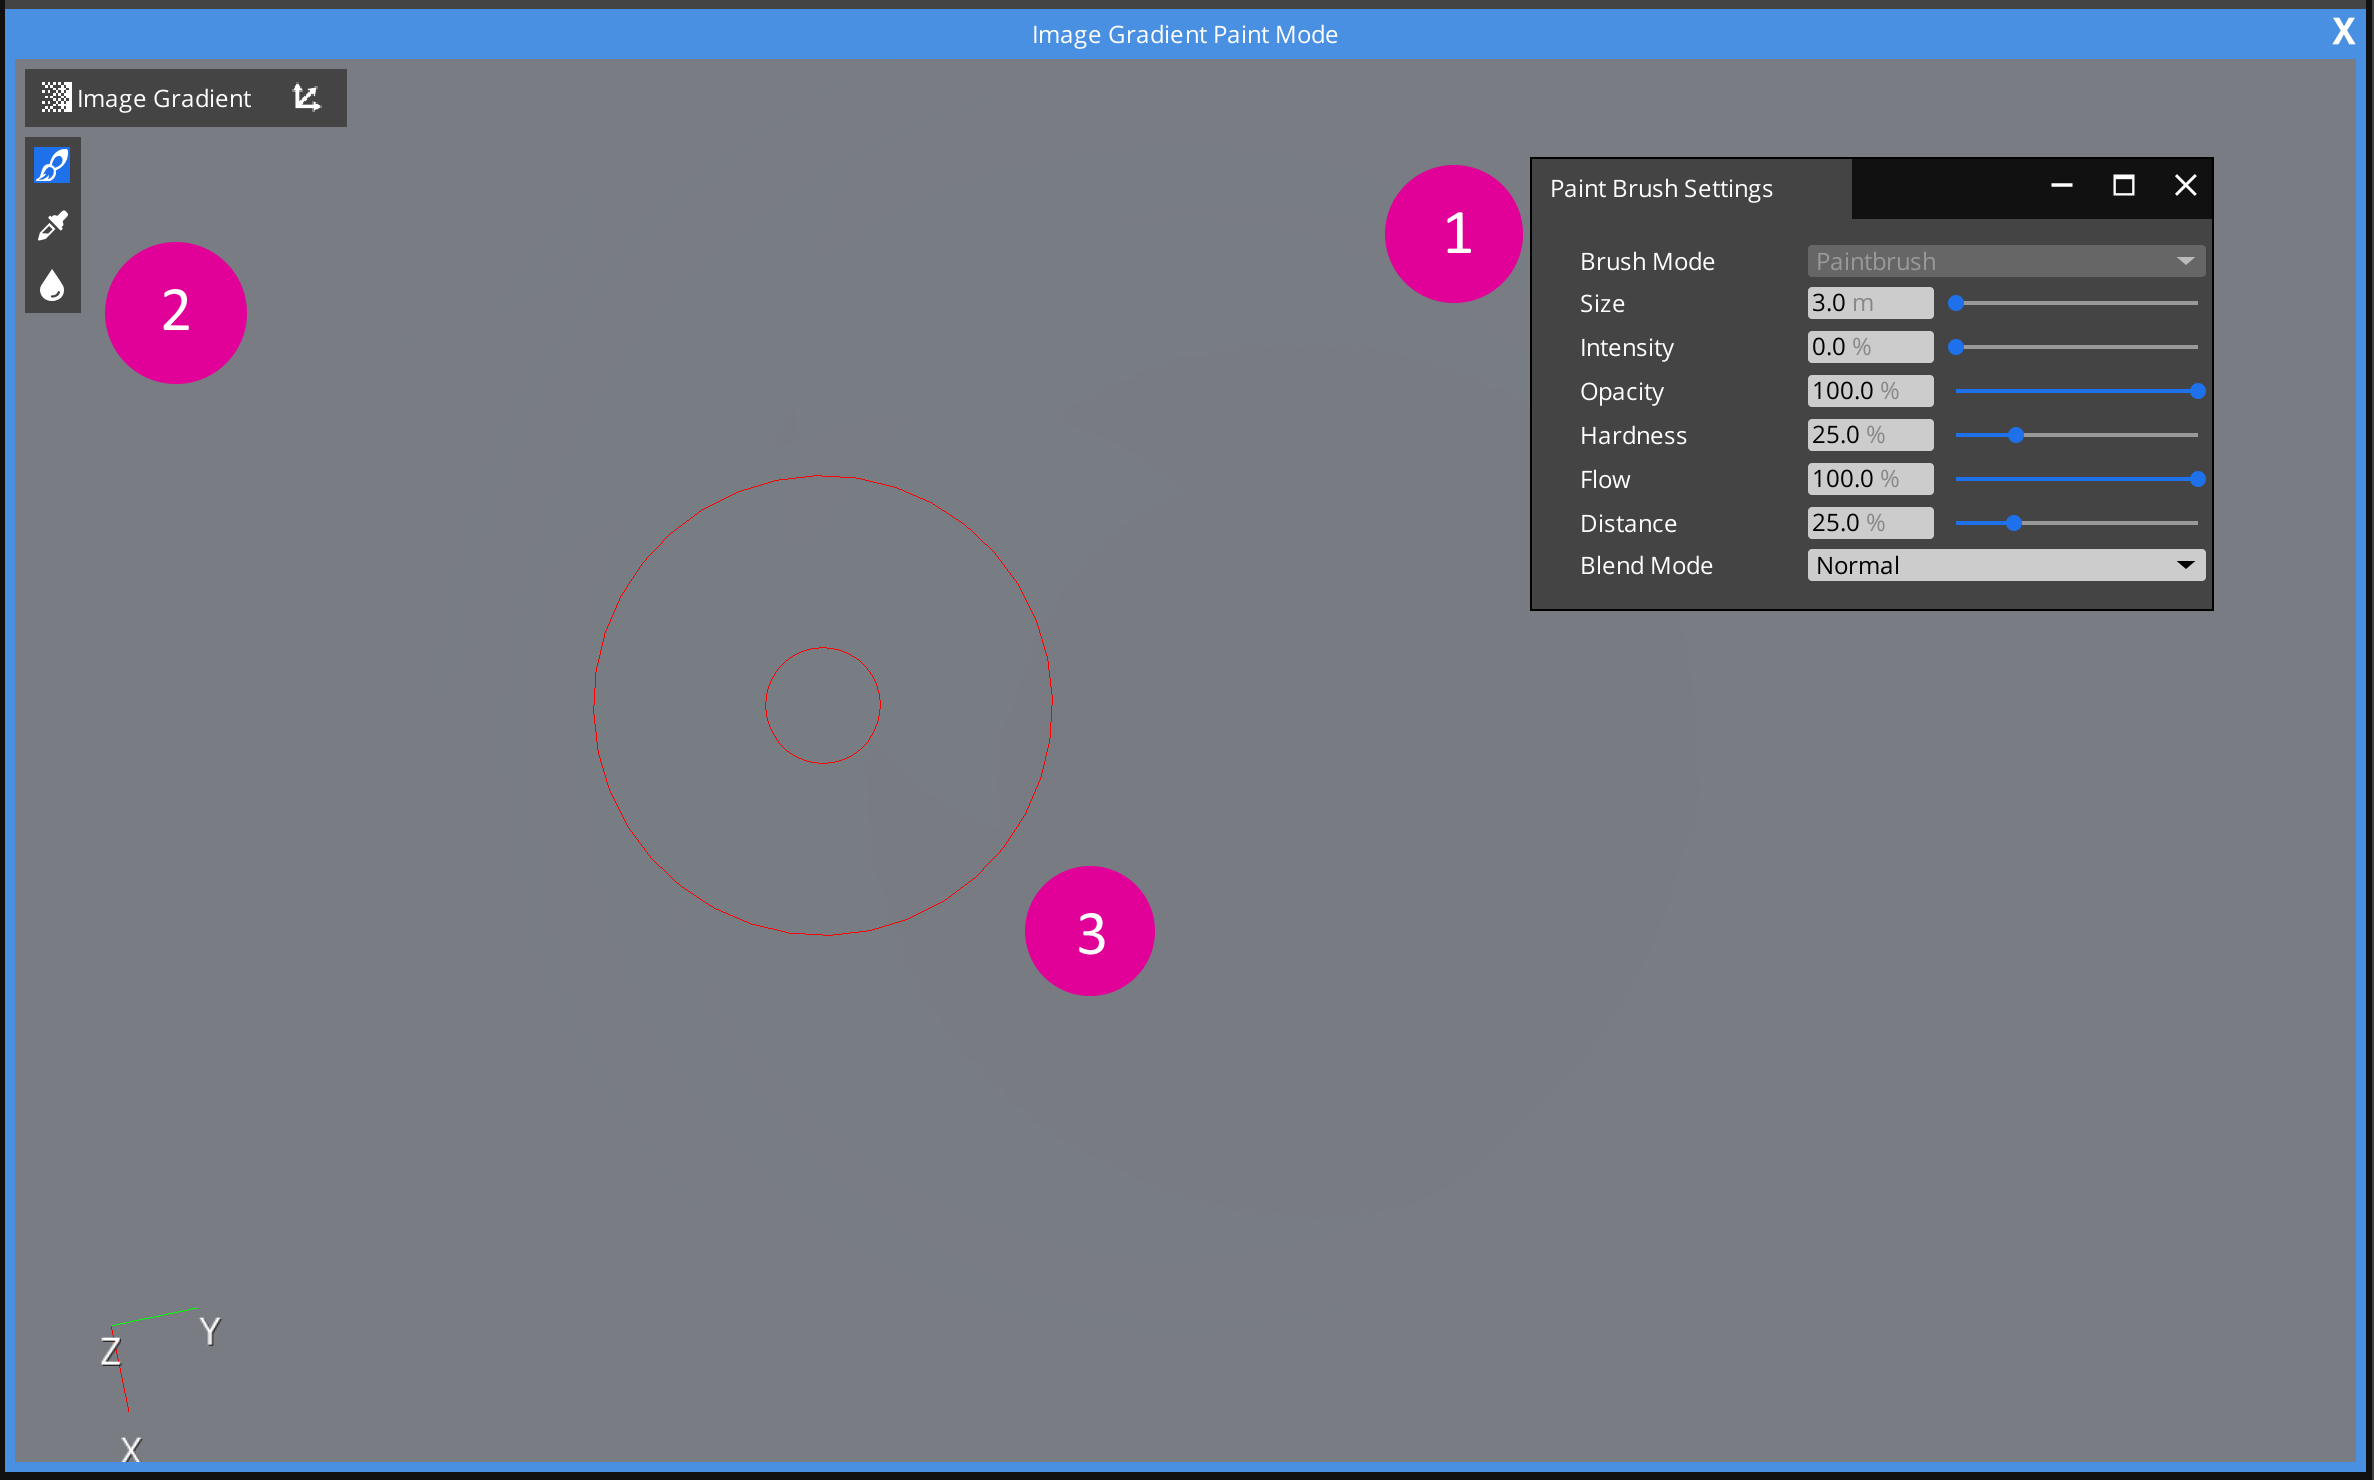
- A dockable Paint Brush Settings window
- Paint Brush mode selection icons in the viewport
- The Paint Brush circle in the viewport
Painting consists of moving the mouse in the viewport while holding down the left mouse button. A brush stroke begins once the left mouse button is pressed down and ends once the left mouse button is released. Undo/redo commands work on each brush stroke.
A brush stroke consists of a series of overlapping circles applied with constant spacing as the mouse moves. The Paint Brush Settings control the color, opacity, size, and spacing of the circles.
End Paint Brush mode by pressing Esc, clicking the Done button on the component, or selecting a different component’s icon in the Component Switcher in the viewport.
Paint Brush modes
The Paint Brush has three separate modes - Paint, Eyedropper, and Smooth.
| Mode | Description |
|---|---|
| Paint | The Paint Brush blends new values onto whatever data is being painted based on the Paint Brush Settings. |
| Eyedropper | The Paint Brush reads the current value from underneath the exact center of the brush and sets the Intensity, Color, and Opacity in the Paint Brush Settings to that value. The Eyedropper always uses the exact center to read a single value; the brush size does not affect it. |
| Smooth | The Paint Brush smooths the existing data and blends the results back in based on the Paint Brush Settings. |
Paint Brush Settings
There are three types of Paint Brush Settings - settings that affect brush strokes, settings that affect the individual circles within a brush stroke, and settings that only apply to smoothing operations.
Settings that affect brush strokes
Color / Intensity
The Paint Brush Settings provides a Color setting for components that support full-color values or an Intensity setting for components that only support a single-channel greyscale value.
Color controls the color and opacity for the entire brush stroke. Intensity controls the greyscale value for the entire brush stroke.
Opacity
Opacity controls the opacity of the entire brush stroke. Conceptually, if the entire brush stroke was painted into a separate paint layer, Opacity is the alpha value used to blend that layer back into the main layer. If a brush stroke crosses itself, it will not double-blend.
If the component supports full-color values, the opacity can either be edited as a part of the color or via the Opacity slider. The same value is exposed in both places for convenience.
An example of a brush stroke crossing itself with medium opacity:
Blend Mode
Blend Mode controls how the entire brush stroke is blended back into the main layer. In the following table, a is the main layer value, b is the painted value, and c is the value blended back into the main layer using linear interpolation based on the Opacity setting.
| Blend Mode | Math Function | Description |
|---|---|---|
| Normal | $$c = b$$ | Directly uses the painted value for blending. |
| Multiply | $$c = ab$$ | Multiplies the main value and painted value before blending, which results in darker values. |
| Screen | $$c = 1 - (1 - a)(1 - b)$$ | Performs an inverted multiply between the main value and painted value before blending, which results in lighter values. |
| Linear Dodge (Add) | $$c = a + b$$ | Adds the main value and painted value before blending, which results in lighter values. |
| Subtract | $$c = a - b$$ | Subtracts the main value and painted value before blending, which results in darker values. |
| Darken (Min) | $$c = min(a, b)$$ | Keeps the minimum value between the main and painted value before blending. This results in values that are always the same or darker than the main value. |
| Lighten (Max) | $$c = max(a, b)$$ | Keeps the maximum value between the main and painted value before blending. This results in values that are always the same or lighter than the main value. |
| Average | $$c = (a + b) / 2$$ | Uses the average of the main and painted values for blending. |
| Overlay | $$a < 1/2 : c = 2ab$$ $$a >= 1/2 : c = 1 - 2(1 - a)(1 - b)$$ | If the main value is dark, apply Multiply mode and darken; if the main value is light, apply Screen mode and lighten. |
Settings that affect brush circles
Size
Size controls the diameter of each brush circle. The size is specified in meters in world space coordinates, not in pixels or the number of values affected in the component.
Flow
Flow controls the maximum opacity of each brush circle. A Flow value of 0% is completely transparent, and 100% is completely opaque.
| Flow | Illustration |
|---|---|
| 1% | 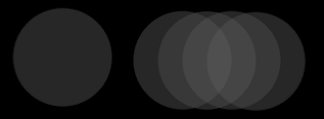 |
| 100% | 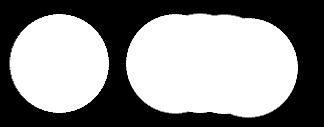 |
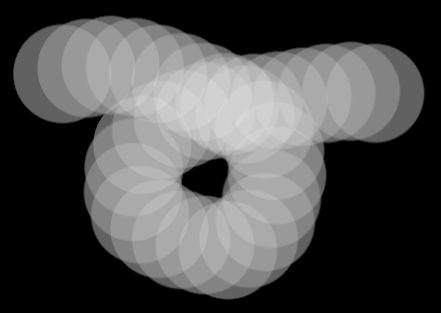
Because the Flow opacity affects each brush circle, overlapping circles in the same brush stroke will blend with each other.
An example of a brush stroke crossing itself with medium flow:
Hardness
Hardness controls the opacity falloff of each brush circle. The Hardness is the percentage of distance along the circle’s radius to begin the falloff at. The falloff always ends at the outer radius. For example, a Hardness value of 50% means that the inner 50% of the brush circle will use the maximum opacity specified by Flow, and the outer 50% of the brush circle will drop in opacity until it is completely transparent. A value of 100% will make the entire brush circle use the maximum opacity.
An illustration of Hardness 50% - the inner circle shows where the falloff begins, and the outer circle shows where the falloff ends. The outer circle is the brush size: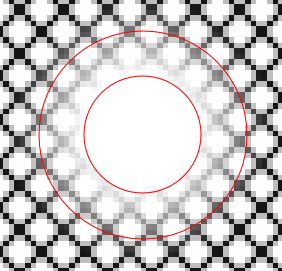
The following chart shows how the overall circle opacity changes through different combinations of Hardness and Flow. Although the circles appear to be different sizes, they are all the same brush size with differing amounts of opacity between the center and the outer edge. Lower Flow values have a lower maximum opacity which causes the falloff to reach 0 more quickly.
| Flow 1% | Flow 50% | Flow 100% | |
|---|---|---|---|
| Hardness 0% | 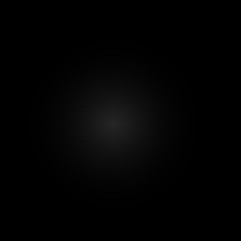 | 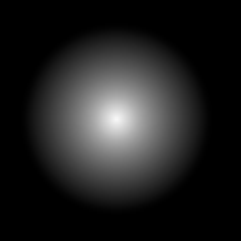 | 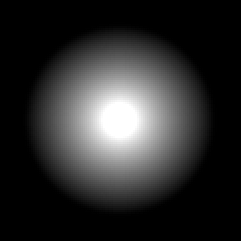 |
| Hardness 50% |  | 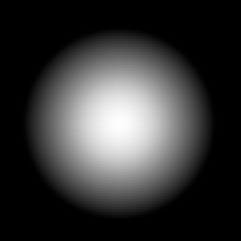 |  |
| Hardness 100% |  |  |  |
Because the Hardness opacity affects each brush circle, overlapping circles in the same brush stroke will blend with each other.
An example of a brush stroke crossing itself with medium hardness:
Distance
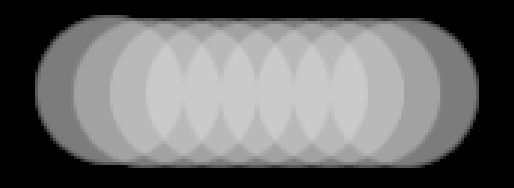
Distance controls the spacing of each circle within the brush stroke as the mouse moves. Specifically, the Distance value represents the total distance the mouse needs to move before applying another circle, so small back-and-forth movements with the mouse can produce circles that are closer together than the Distance value. Distance is a percentage of the circle’s size, so a value of 50% will overlap each circle by 50% and a value of 100% will produce exactly non-overlapping circles. Values greater than 100% will leave space between each circle.
| Distance | Illustration |
|---|---|
| 1% | 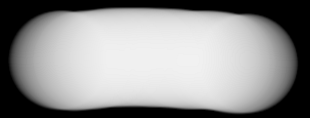 |
| 25% | 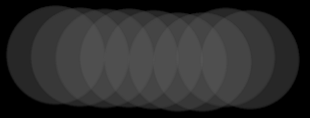 |
| 50% | 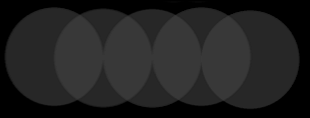 |
| 100% | 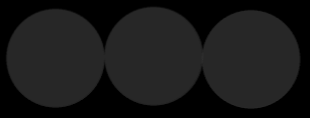 |
| 200% |  |
Settings that apply to smoothing operations
The following settings only apply to the smoothing brush.
Smooth Mode
Smooth Mode is the method for combining an NxN set of values together into a single smoothed value for use at the center of the NxN square.
| Mode | Description | Example 1 | Example 2 |
|---|---|---|---|
| (Input images) |  | 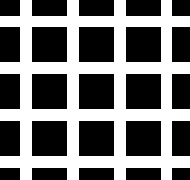 | |
Gaussian | Takes a weighted average of the NxN values using a Gaussian bell curve distribution function. This is the most common smoothing method used by paint programs. It provides a good balance of smoothing out noise and preserving details. | 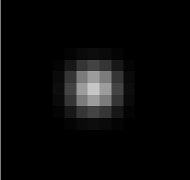 | 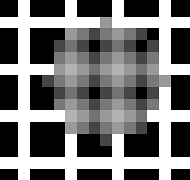 |
Mean | Takes an unweighted average of the NxN values. This method smooths out noise and is the method least likely to preserve sharp details. | 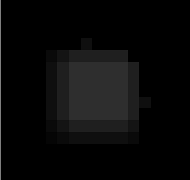 | 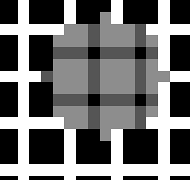 |
Median | Takes the middle value from the sorted set of NxN values. This method preserves sharper edges than the other smoothing methods and can completely eliminate noise, but it also produces less smooth results in general and might introduce noticeable artifacts. |  | 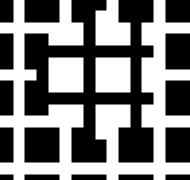 |
Smoothing Radius
Smoothing Radius is the number of values to use in each direction from the center value when computing the smoothed value. The smoothing methods use NxN values, where N = (radius * 2) + 1. A radius of 1 is a 3x3 set of values, a radius of 2 is a 5x5 set of values, a radius of 3 is a 7x7 set of values, and so on.
This number is expressed in value space. In other words, it describes the number of adjacent values to use in each direction regardless of how the values are mapped into world space.
A larger radius will generally cause a smoother result across larger distances, but it also has an increased performance cost.
The Smoothing Radius is separate from the Paint Brush Size. The Paint Brush Size controls how many values will get smoothed, and the Smoothing Radius controls how many adjacent values are used to smooth each value. Only values within the Paint Brush will get smoothed, but values outside of the Paint Brush might be used for calculating the smoothed results.
Hotkeys and CVars
| Hotkey | Description |
|---|---|
| [ | Decreases the Paint Brush Size. |
| ] | Increases the Paint Brush Size. |
| { | Decreases the Paint Brush Hardness. |
| } | Increases the Paint Brush Hardness. |
| CVar | Description |
|---|---|
ed_paintBrushSizeAdjustAmount | Controls how much the [ and ] hotkeys adjust the Paint Brush Size in meters. |
ed_paintBrushHardnessPercentAdjustAmount | Controls how much the { and } hotkeys adjust the Paint Brush Hardness in percent (0 - 100). |
ed_paintBrushManipulatorInnerColor | The color of the inner circle of the Paint Brush, which is used to show where the hardness falloff begins. |
ed_paintBrushManipulatorOuterColor | The color of the outer circle of the Paint Brush, which shows the overall Paint Brush size and where the hardness falloff ends. |
PaintBrushSessionBus
The PaintBrush provides an EBus that exposes high-level painting APIs for any component that supports runtime painting.
| Request Name | Description | Parameter | Return | Scriptable |
|---|---|---|---|---|
StartPaintSession | Starts a runtime paint session and creates the temporary data buffers needed for modification. | PaintableEntityId: The entity that contains a paintable component. | Uuid: The new paint session ID. | Yes |
EndPaintSession | Ends the runtime paint session for the given ID and cleans up the temporary data buffers. | sessionId: The paint session ID to end. | None | Yes |
BeginBrushStroke | Starts a brush stroke for a paint session with the given brush settings for color/intensity/opacity. | sessionId: The paint session ID, brushSettings: The paint brush settings for this brush stroke. | None | Yes |
EndBrushStroke | Ends a brush stroke for a paint session. | sessionId: The paint session ID. | None | Yes |
IsInBrushStroke | Returns whether or not a paint session is currently in the middle of a brush stroke. | sessionId: The paint session ID. | bool: True if a brush stroke has been started, false if not. | Yes |
ResetBrushStrokeTracking | Resets the brush tracking so that the next action will be considered the start of a stroke movement instead of a continuation. | sessionId: The paint session ID. | None | Yes |
PaintToLocation | Applies a paint color to the underlying data from the previous location to the provided location using the given brush settings. | sessionId: The paint session ID, brushCenter: The location to move the center of the brush to, brushSettings: The paint brush settings for this brush stroke. | None | Yes |
SmoothToLocation | Smooths the underlying data from the previous location to the provided location using the given brush settings. | sessionId: The paint session ID, brushCenter: The location to move the center of the brush to, brushSettings: The paint brush settings for this brush stroke. | None | Yes |