
IN THIS ARTICLE
Getting Started
This walks through generating a new component from start to finish. For what each template produces, see the Templates catalogue.
1. Launch the wizard
From the O3DE Editor, select File > New Component.
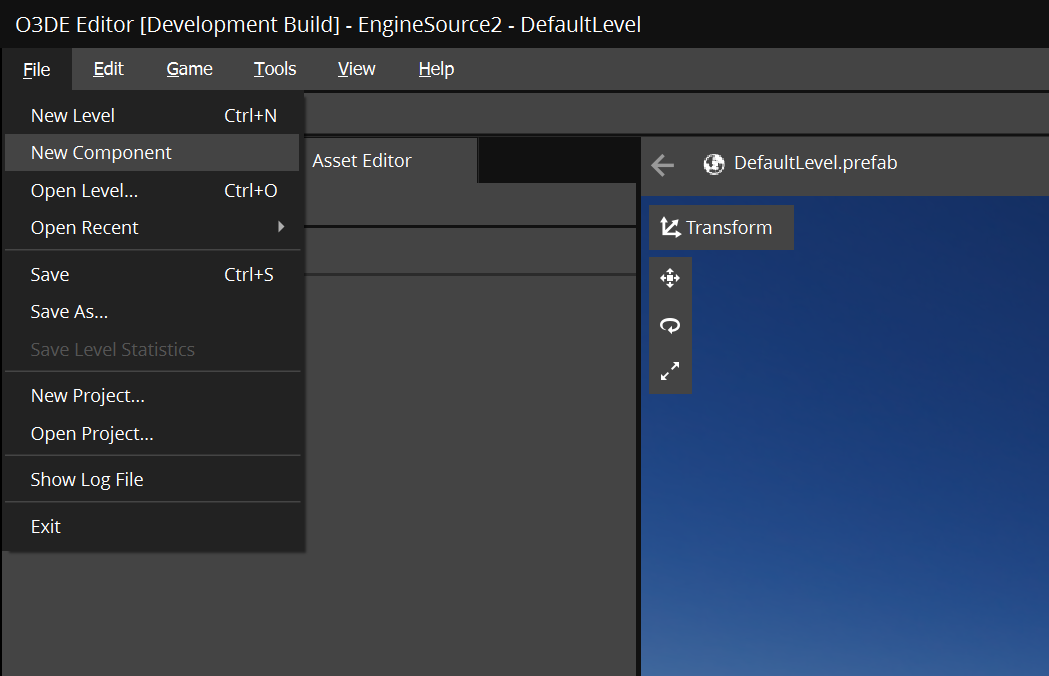
Or use the CLI:
python ClassWizard.py --engine-path "C:\o3de" --project-path "C:\MyProject"
Run this from your O3DE engine’s Tools/ClassCreationWizard/ directory. Both --engine-path and --project-path are required. The wizard needs your project path to resolve your build targets correctly.
2. Pick a template
Select a template from the dropdown at the top of the window. Every template discovered from the engine, your project, and your gems appears here.
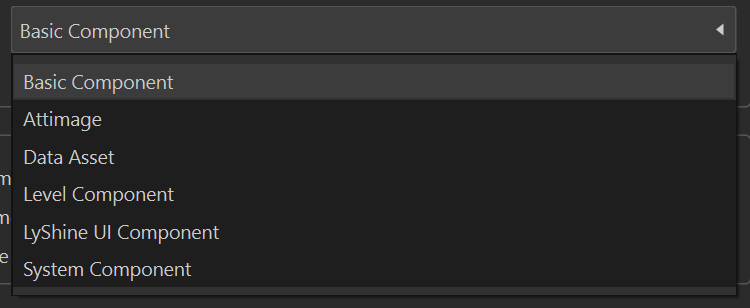
3. Choose where it goes
Set the Target (your project or a specific gem), then pick the Package. The Package is the build target the generated files will register into.
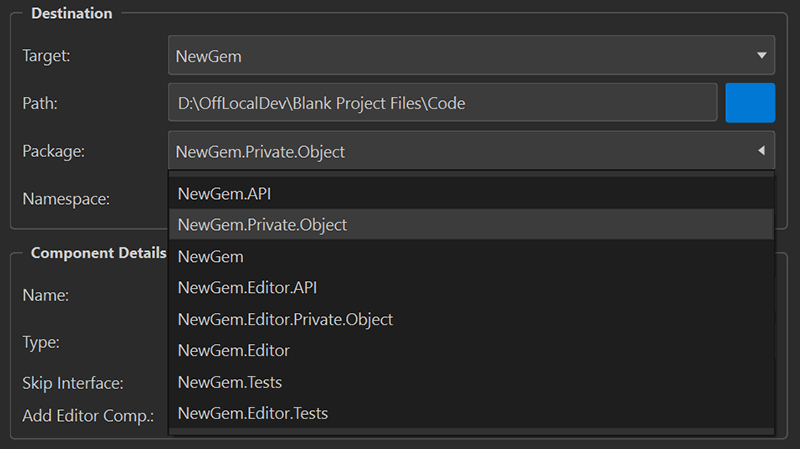
4. Fill in the component details
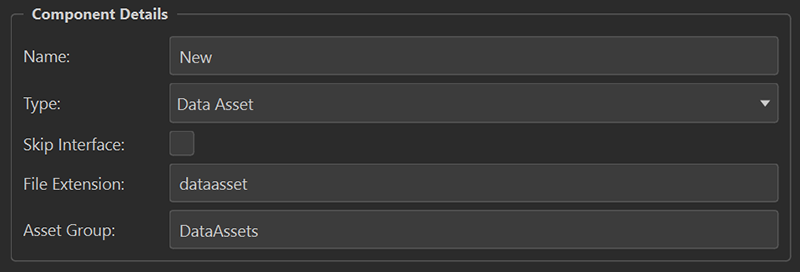
Give it a Name. Then fill in any fields specific to the template you picked. These fields change per template. For example, the Data Asset template asks for a file extension and asset group:
See the Templates catalogue for what each template’s own fields do.
5. Choose your settings
- Register Automatically – wires the generated files into CMake and the module descriptor for you. Leave this off if you’d rather register them by hand.
- Remove Comments – strips the template’s explanatory comments from the generated source.
- Default License – adds the standard O3DE license header to generated files.
6. Create
Select Create. The log at the bottom reports what the wizard found and did:
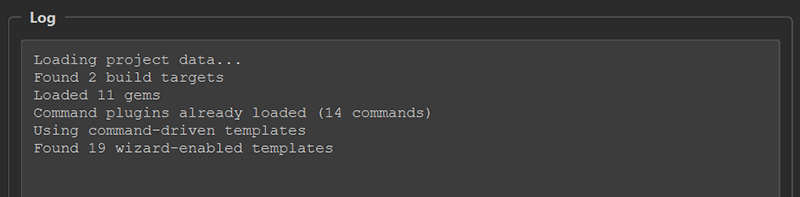
Your new files are now in the destination gem, registered in CMake if you left Register Automatically on. Open your IDE and build as usual.
Next Steps
Review the Templates catalogue for all the components and asset types available to create by default.