
IN THIS ARTICLE
Creating a C++ Gameplay Gem from Template
Learn how to create a C++ Gameplay Gem in Open 3D Engine (O3DE) using the GameplayGem template, understand the Component Controller architecture, and run your gameplay code in the O3DE Editor.
Overview
The GameplayGem template provides a complete, pre-configured C++ Gem structure designed for developing reusable gameplay component controllers, EBus interfaces, and editor tools.
What’s Included in the Template
- Component Controller Architecture: Implements the recommended O3DE
ComponentControllerpattern separating data/state from logic. - EBus Interfaces: Pre-wired Request (
${Name}RequestBus) and Notification (${Name}NotificationBus) event buses. - Editor Component Integration: Pre-configured
EditorExampleComponentwithBuildGameEntity()transformation. - Visual Scripting Support: Reflection to
BehaviorContextfor Script Canvas and Lua. - Built-in Example Level: Includes
/Levels/DefaultLevel/DefaultLevel.prefabready to hit Play in the O3DE Editor. - Cross-Platform PAL Setup: CMake platform abstraction files for Windows, Linux, macOS, Android, and iOS.
Step 1: Create a Gem from the GameplayGem Template
You can create a Gem using the O3DE Project Manager GUI or the O3DE CLI.
Option A: O3DE Project Manager GUI
- Launch O3DE Project Manager.
- Click Gems in the top navigation bar.
- Click Create a Gem.
- In the Gem Template selection list, choose Gameplay Gem Template (or click Choose existing template and browse to
Templates/GameplayGem). - Enter your Gem Name (e.g.,
CombatSystem) and specify the destination path. - Click Next and complete the wizard.
Option B: O3DE Command Line (CLI)
Open a terminal or command prompt in your O3DE engine root directory and run:
o3de create-gem -t GameplayGem -gn CombatSystem -gp <path-to-your-gems-folder>/CombatSystem
Step 2: Add Gem to Your Project
To use your new Gem, you must add it to an active O3DE project using the O3DE Project Manager or the O3DE CLI. For comprehensive details on project configuration, see Adding Gems.
Option A: O3DE Project Manager GUI
- Open O3DE Project Manager.
- Locate your project and select Edit Project Settings -> Configure Gems.
- Enable your new Gem in the list and save your configuration.
Option B: O3DE Command Line (CLI)
Run the following command to register and enable the Gem in your project’s project.json manifest:
o3de register-gem -gp <path-to-your-gems-folder>/CombatSystem -pp <path-to-your-project>
Step 3: Architecture & File Overview
The generated Gem contains the following key source files under Code/Source/:
| File | Purpose |
|---|---|
Components/ExampleComponentController.h / .cpp | Main C++ logic controller for your gameplay component. |
Components/ExampleComponent.h / .cpp | Runtime entity component wrapping the controller. |
Tools/Components/EditorExampleComponent.h / .cpp | Editor companion component providing Inspector reflection and BuildGameEntity(). |
Include/<GemName>/<GemName>Bus.h | EBus interface definitions for event messaging. |
Step 4: Testing Your Gem in the O3DE Editor
- Open your project in O3DE Editor.
- Go to File -> Open Level.
- Select
DefaultLevellocated inside your Gem’s level directory. - Click the Play (Ctrl + G) button in the main viewport.
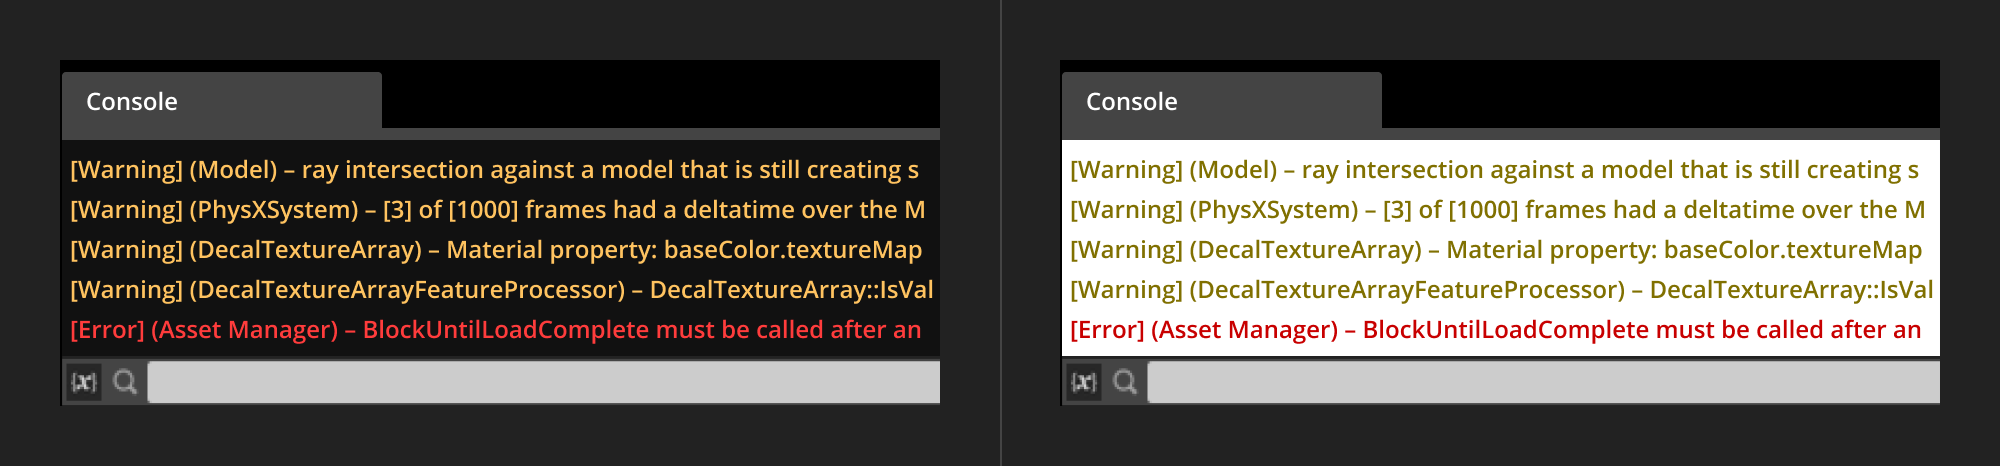
- Open the Console (~) to observe tick output and component activation.
Summary & Next Steps
Your GameplayGem is now ready for custom gameplay development! You can add additional components to Code/Source/Components/, register them in your Gem’s ModuleInterface.cpp, and reflect properties to BehaviorContext for visual scripting.