IN THIS ARTICLE
Debugger Configuration
In PhysX Configuration, you can specify how to interact with PhysX Visual Debugger (PVD). PhysX Visual Debugger is a third-party application that records your PhysX data from O3DE Editor. You can then review this data to see how your physics effects appear.
For more information, see NVIDIA PhysX Visual Debugger documentation.
Install PhysX Visual Debugger
To get started, download PhysX Visual Debugger.
Note:You must have a NVIDIA account to download PhysX Visual Debugger. If you don’t already have an account, create and sign in to your account.Follow the installation steps.
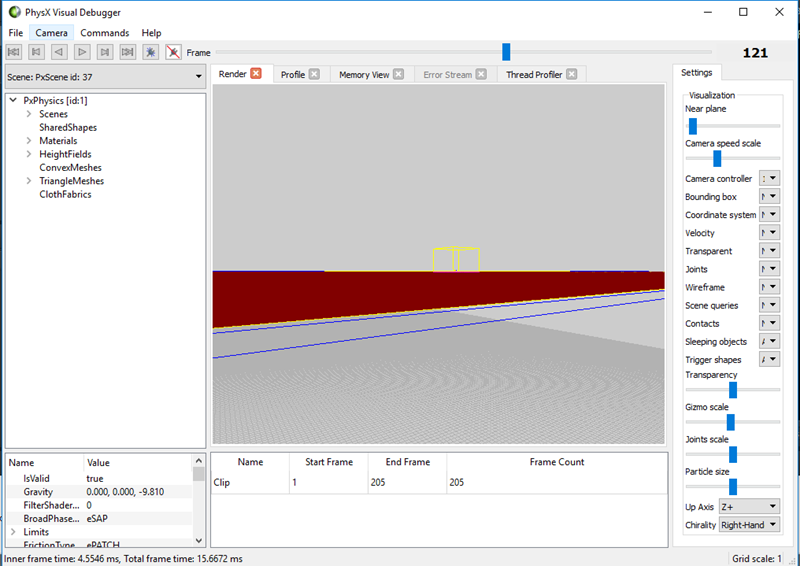
After you install the application, open PhysX Visual Debugger. This application must be running if you want to record data from O3DE Editor.
In O3DE Editor, open a level or create one that has entities with PhysX components. For example, you can create a simple dynamic entity that responds to gravity.
Configure PhysX Debugger in O3DE
In O3DE Editor, choose Tools, PhysX Configuration.
Click the Debugger tab.
You can specify the following settings.

To verify that PhysX Visual Debugger is connected to O3DE, for PVD Auto Connect, choose Game or Editor and then enter game or editor mode. Depending on what you choose, the following message appears in the Editor Console.
(PhysX) - Successfully connected to PhysX Visual Debugger.Open PhysX Visual Debugger to view the recorded information.
Example:
You can also manually connect or disconnect from PhysX Visual Debugger using the following console variable commands.
physx_PvdConnectphysx_PvdDisconnectFor more information, see Debugging PhysX.